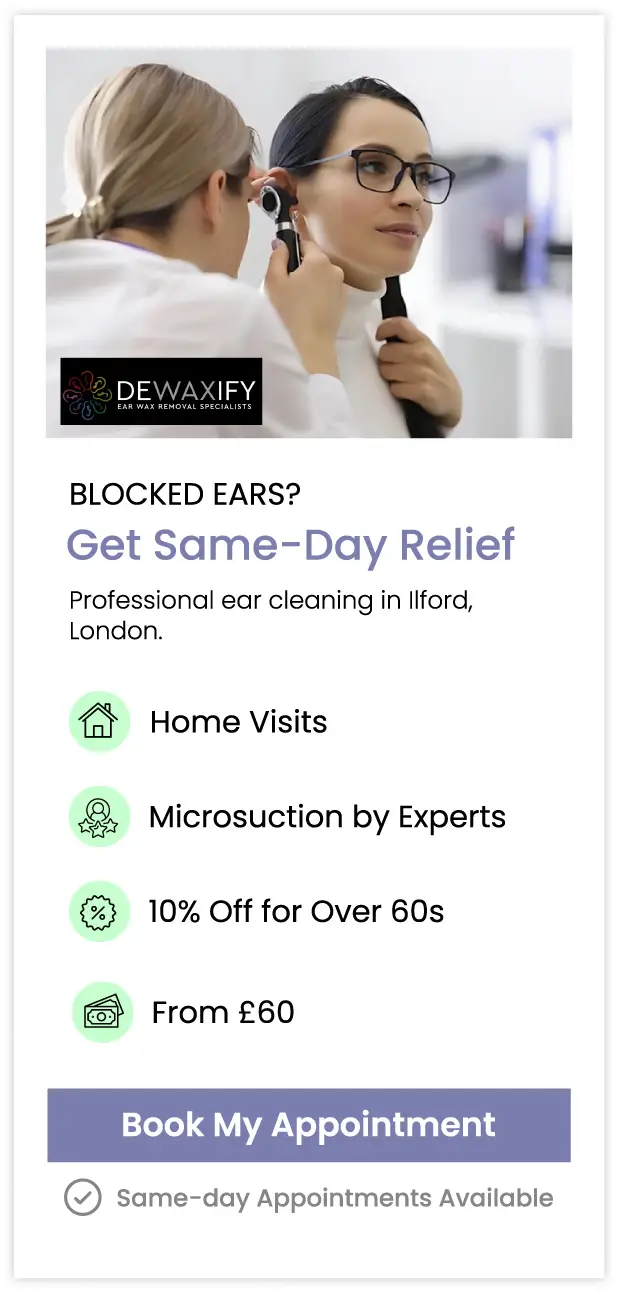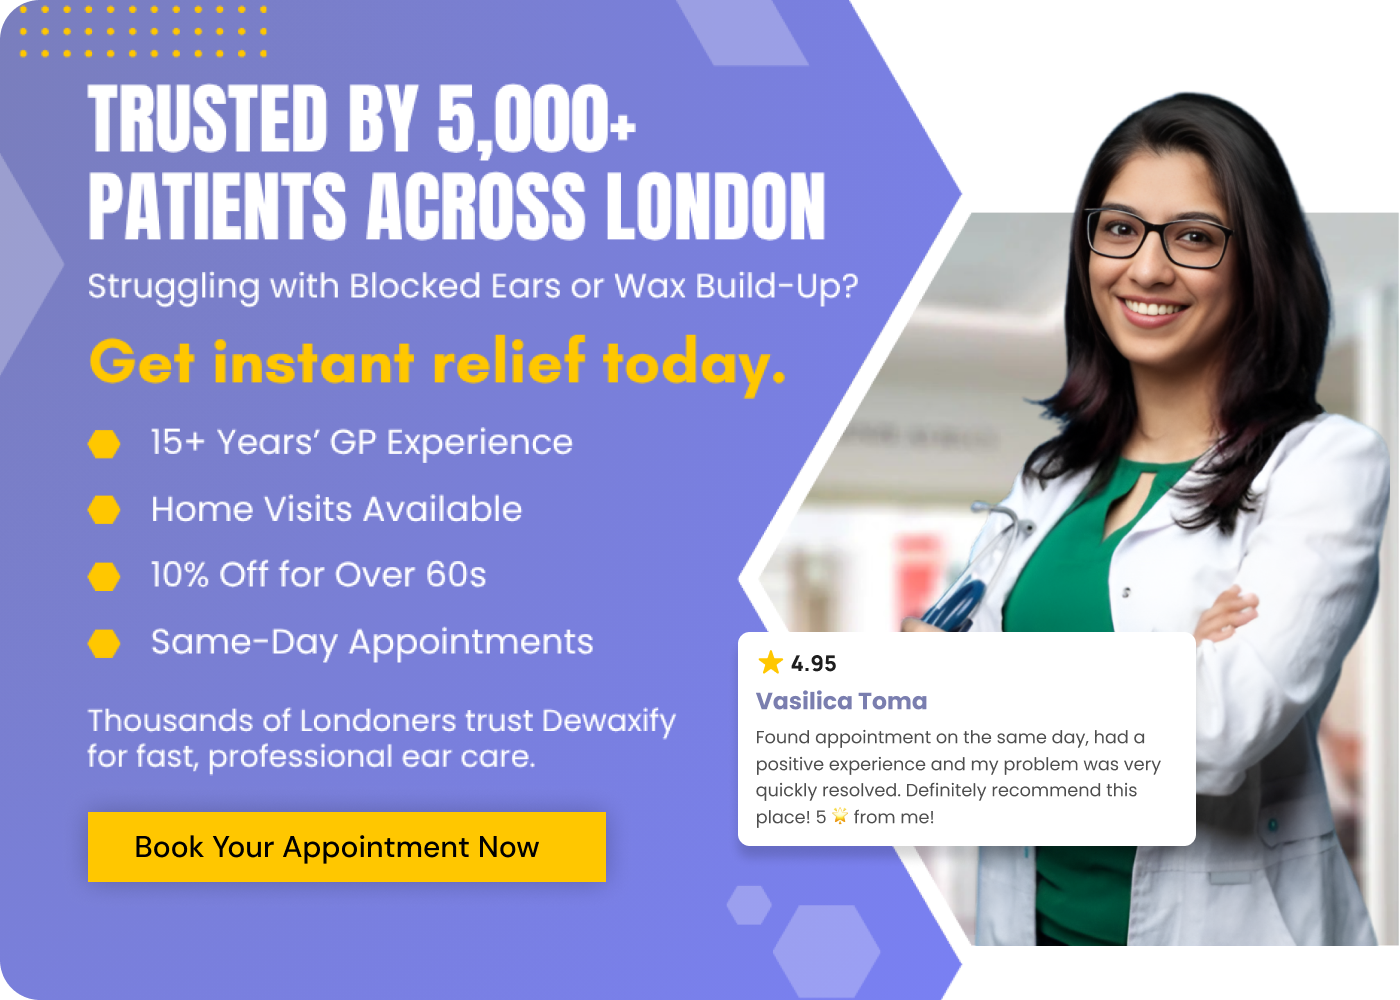
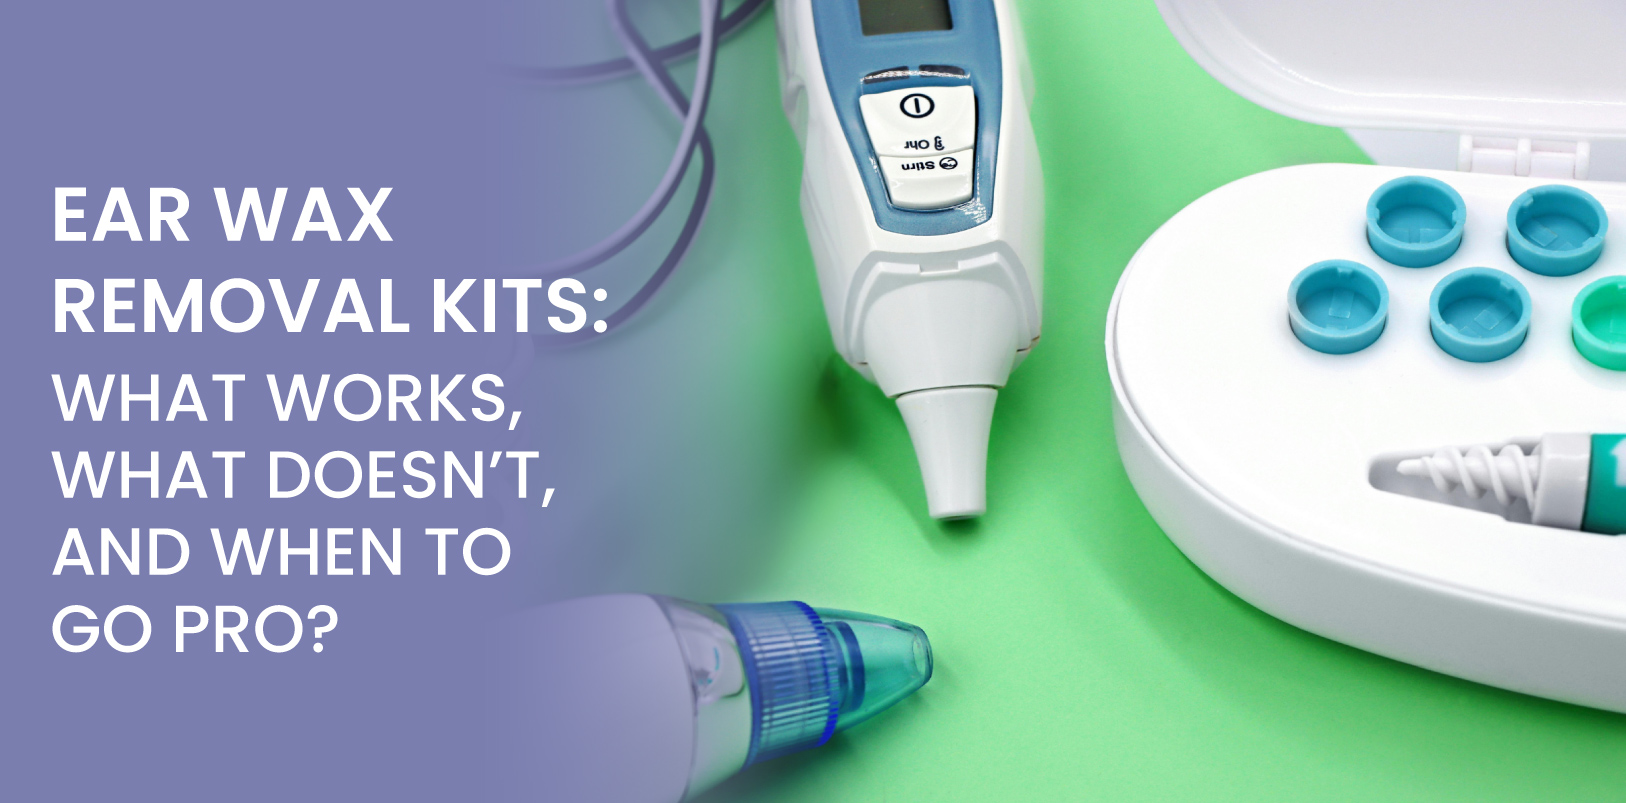
Before You Buy an Ear Wax Removal Kit, Read This
At first glance, ear wax removal might look easy; a few drops, a quick rinse, or even a gadget with a built-in camera that promises clear hearing in minutes.
An ear wax removal kit can sometimes do the job if used correctly and if your ears are healthy, but results aren’t always as simple as they seem.
Others are risky or just not effective for hard, deep plugs. In this guide, we will unpack the types of kits, show you safe techniques, share red flags, and explain when microsuction ear wax removal in a clinic is the better choice.
In this blog, you will learn everything about ear wax removal, including what it is, how it works, and the benefits & risks associated with it.
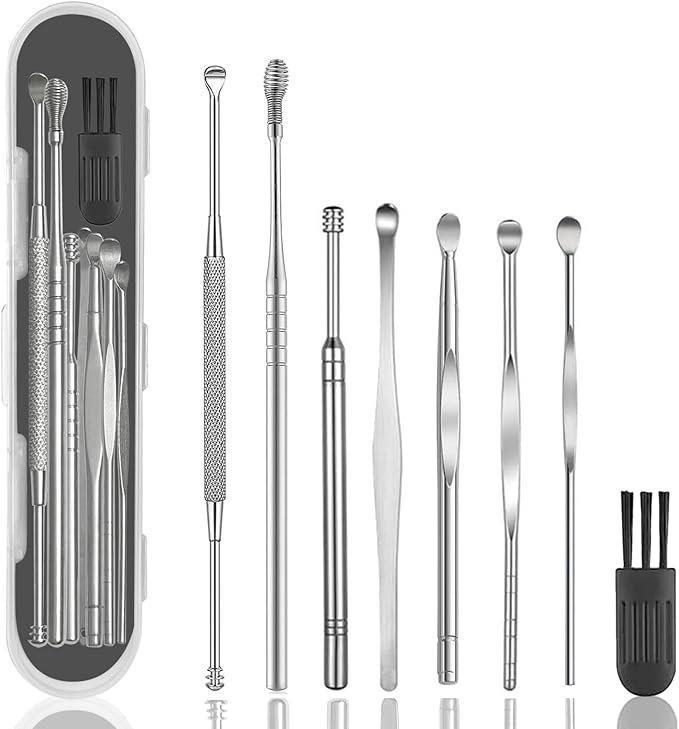
What counts as an “ear wax removal kit”?
Most kits fall into six groups. Each has a different job.
| Kit type | How it works | Where it helps | Key risks or limits |
| Cerumenolytic drops (olive oil, sodium bicarbonate, carbamide peroxide) | Soften and lubricate wax so it breaks up or moves outward with jaw motion | First step for many mild blockages and for prep before any removal | Can sting if the canal skin is inflamed. Stop if it’s painful. NHS advises drops as first-line care. nhs.uk |
| Bulb syringes | Hand-squeezed, low-pressure warm water rinse along the canal wall | After several days of softening drops for shallow, soft wax | Never use it with possible perforation, infection, or after ear surgery. Use body-temperature water only. Some NHS clinics provide self-care leaflets for careful use. westgatesurgery.nhs.uk |
| Pump or bottle irrigators | Controlled water flow via a nozzle and splash shield | Similar to bulb syringes but steadier pressure | Still introduces water. Not advised with perforations or ear tubes. Consider clinical review instead. NICE-linked guidance prefers trained use in care settings. NCBI |
| Endoscope camera kits | A slim camera lets you view the canal while you prod or scoop | Visibility sounds helpful, but depth is hard to judge at home | Easy to push wax deeper or scratch skin. Many ENTs caution against home probing without training. Nebraska Medicine |
| Spiral “twist” tips and scoops | Soft plastic tips claim to pull wax out as you rotate | May lift loose wax near the entrance only | Risk of compaction or abrasion further inside. If you cannot see clearly, do not insert. Nebraska Medicine |
| Ear candles | A hollow candle claims to create suction as it burns | None. The residue is candle wax, not ear wax | Documented burns and blockages. Avoid entirely. NHS warns there is no evidence of benefit. |
Do Ear Wax Removal Kits Actually Work?
Sometimes ears that produce soft, shallow wax and have no history of perforations or infections often respond to a short course of drops and, if needed, a very gentle, low-pressure rinse. In such cases, a kit may help you open a blocked ear at home safely.
For deep, hard plugs, narrow canals, eczema, grommets, or past surgery, DIY kits are more likely to fail or irritate.
UK guidance recognises three evidence-based clinical methods when performed by trained staff: electronic irrigation, microsuction, and manual removal with tools under vision.
Home syringing should be low pressure and only after proper softening, and manual ear syringing is not recommended anymore.
Top-rated 5 Ear Wax Removal Tools Sold Online in the UK
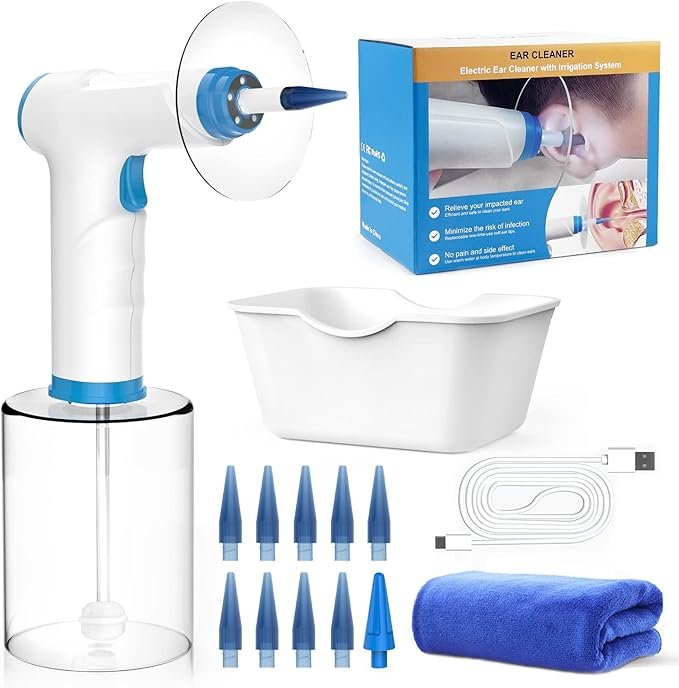
Temodu EarWax Removal Kit
Temodu provides safe, steady, and effective water flows with replaceable disposable soft ear tips, 4 water pressure levels, and settings ranging from 7-24.5 PSI to choose from, Normal, Soft, Pulse and Strong. Just use a stream of warm water for an easy ear rinse. Choose the flushing force that works best for you to relieve symptoms of fullness, hearing loss, and pain.
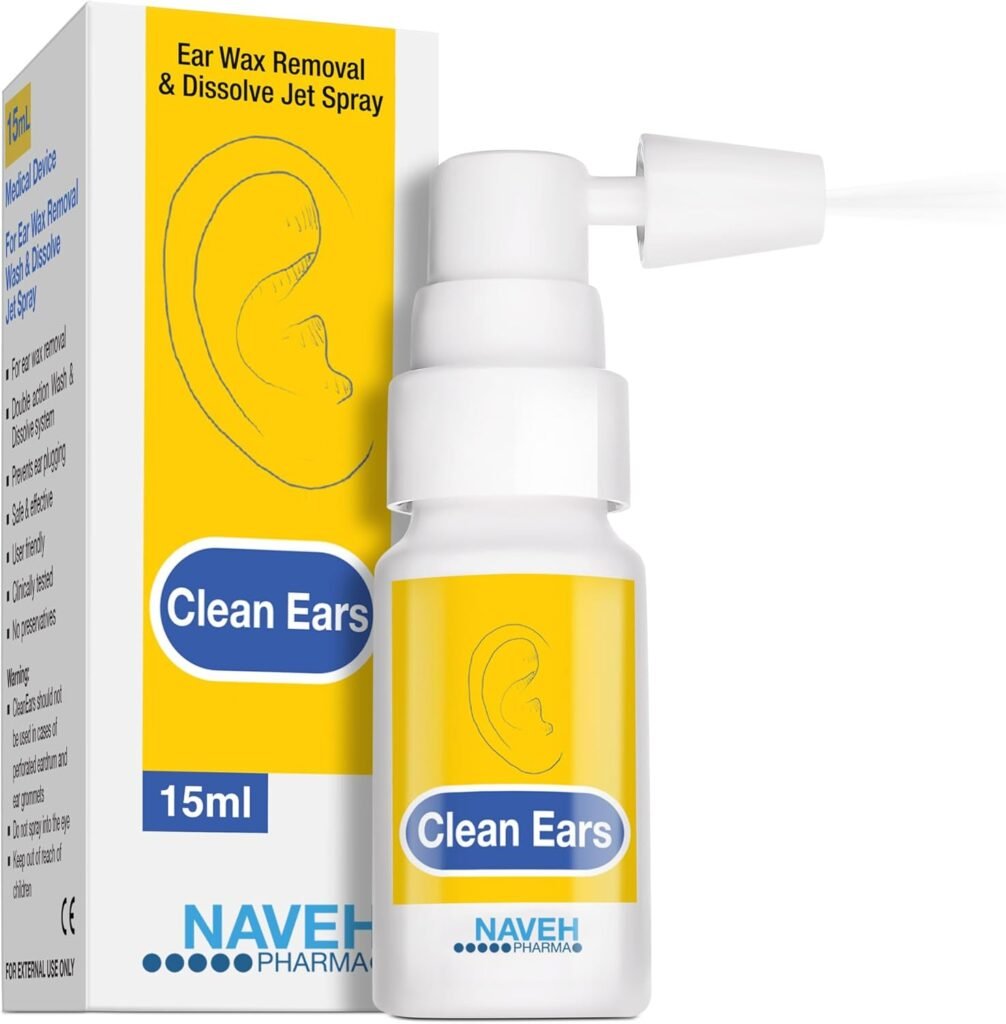
NAVEH PHARMA CleanEars
CleanEars is a patented ear wax sprayer that makes ear cleaning quick and easy. No more awkward positions or long periods of time spent tilting your head – simply spray and go! The sprayer features optimal dispersion for maximum effectiveness and has a high safety profile. It’s also made with natural ingredients and is preservative-free, making it a gentle and refreshing choice for ear cleaning.
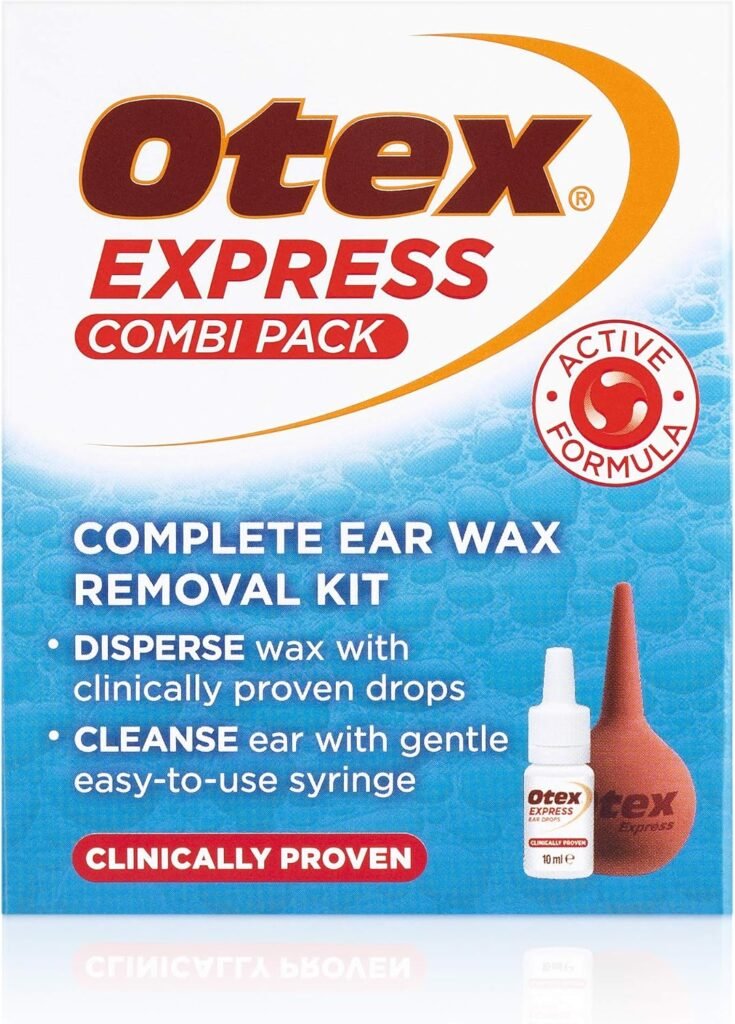
Otex Express Combi
Otex Express Combi is a complete ear wax removal kit that reduces the need for ear syringing/microsuction. Otex Express Ear Drops release oxygen, actively breaking down hardened ear wax into smaller pieces and helping it fall more easily from the ear. After using the ear drops for 3 to 4 days, gently cleanse the ear with warm water by rinsing with the easy-to-use bulb syringe to help clear any remaining ear wax
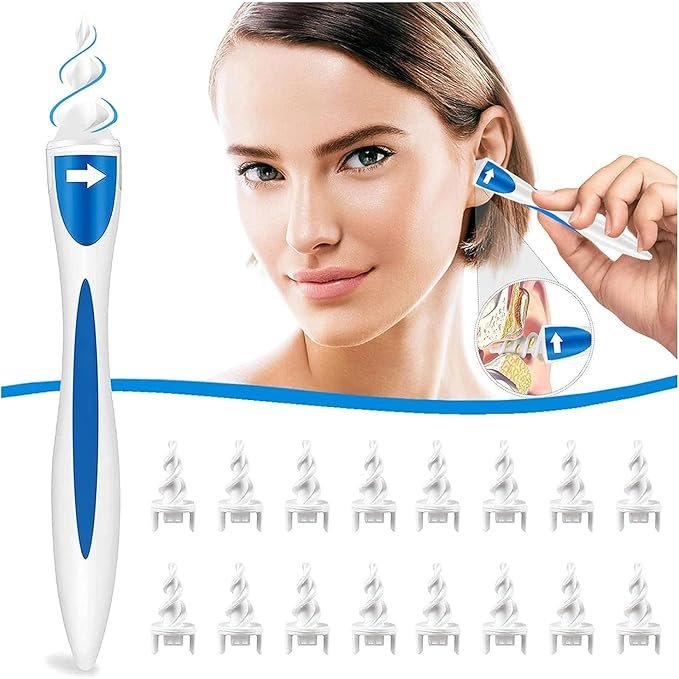
Regeneren Plus Eawax Removal Kit
The spiral tips of this ear cleaner is made of soft and flexible silicone, so this ear cleaner tool can remove ear wax without hurting your itching ear canal like metal q grips earwax removers. This product is great for adults, teens, children, senior and so on, help kids to get away from painful experience of metal q grips.
Hion- 8 Psc Eawax Removal Kit
The Hion Professional ear wax removal kit is made of 316L stainless steel,which will not rust,cause ear canal allergies,or infect the ear canal,and is easy to clean and sterilize.The nano-polishing process ensures that the surface of each ear scoop is smooth without sharp edges, preventing scratches and irritations.
Come with a cleaning brush to clean the debris after use and rinse them off thoroughly with soap and water fter use and wipe dry to reuse.
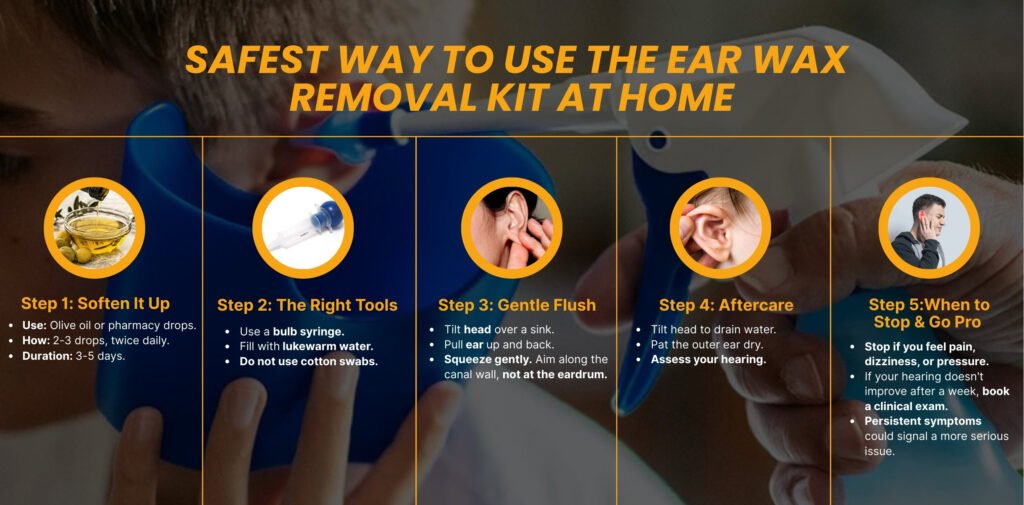
The safest way to use a kit at home:
If you have diabetes, a suspected perforation, a current ear infection, ear tubes, severe pain, or you are under ENT care, skip home kits and book a clinician.
When not to use a kit?
- Known or suspected eardrum perforation
- Ear tubes, recent ear surgery, or chronic otitis
- Severe pain, bleeding, or discharge
- One-sided sudden hearing loss
- Children with pain or fever
For any of these, professional care is safer than home rinses or probes.
Ear Wax Removal Kits vs clinic microsuction: What changes in practice?
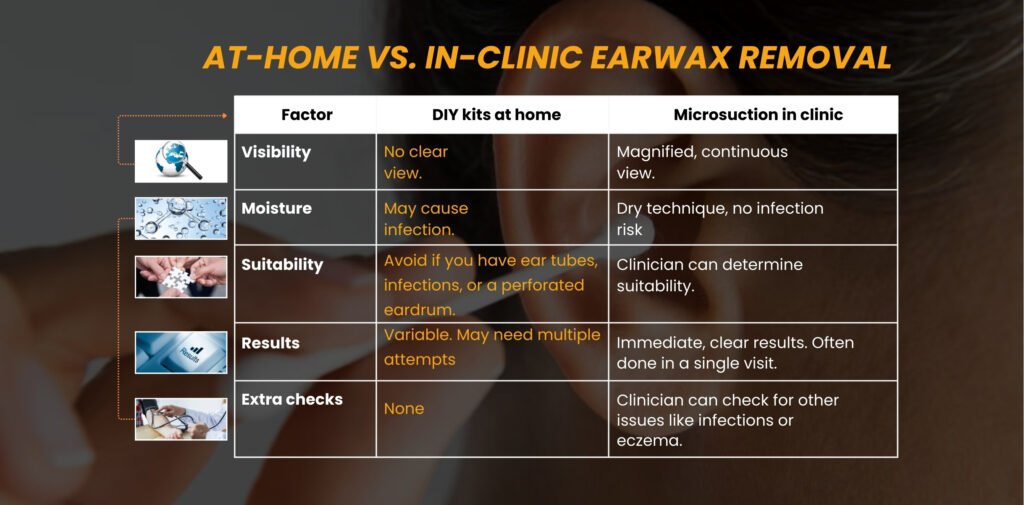
ENT UK describes microsuction as the most widely used and often safest method for clearing wax in otology clinics, as it is performed under direct vision and without the use of water.
Where does Dewaxify fit in your decision?
If you are unsure whether a kit will cut it, book a quick inspection. We can tell you if a DIY attempt is safe or if a professional care is needed.
Our microsuction ear wax removal is done under a bright, magnified view so only wax is removed, not healthy skin, and there is no water to trigger infections.
If you want to measure change, take our Free hearing test online before or after your visit to see the difference in minutes.
If you tend to build wax, we will create a simple plan that includes earwax removal and Olive oil for prevention.
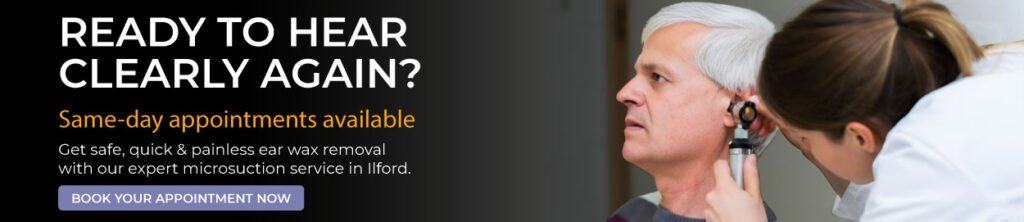
If you’d like to try managing ear wax yourself, follow the safe steps above but always stop immediately if you feel pain, dizziness, or notice any discharge. For professional care, Dewaxify offers expert ear wax removal in Ilford with same-day appointments available. Visit our Home page to book your slot and enjoy clearer, healthier hearing.
Quick checklist before you click “Buy Ear Wax Removal Kit”
- Use olive oil or approved drops for several days first
- Choose low pressure kits only. Avoid anything that drills, scrapes, or burns
- Use body-temperature fluid if you rinse
- Never insert anything if you cannot see clearly or judge depth
- Stop immediately if you feel pain or spinning
- If symptoms last more than a week, book a clinician
Ear Wax Remvoval Kit FAQs
Are ear wax removal kits safe?
Which ear wax removal kit works best?
Is it better to go to a doctor for ear wax removal?
Yes if you have red flags, if DIY fails, or if you have risk factors. Microsuction gives a clear, dry, direct-vision clean in minutes.
Can I use hydrogen peroxide to remove ear wax?
Some carbamide peroxide drops release oxygen bubbles that help break wax, but they can irritate inflamed skin. Use as directed and stop if it stings. If in doubt, switch to olive oil and seek advice.
How often should you use ear wax removal kits?
Do not make it a habit. If you regularly build heavy wax, see a clinician for a plan and consider periodic microsuction instead. NHS suggests maintenance with eardrops and clinic review when symptoms persist.
What is the safest ear wax removal kit?
Softening drops (saline, olive oil, carbamide peroxide) are the safest. Avoid ear candles, suction devices, and high-pressure syringes. They carry a higher risk of injury. Impacted or hard wax should be removed professionally.
Can I remove ear wax at home?
Yes, using softening drops for mild build-up. But avoid cotton buds, pins, or suction tools as they can push wax deeper or injure the ear. If hearing stays blocked or drops don’t help in a few days, book a professional check.
Do ear syringing home kits work?
Yes, using softening drops for mild build-up. But avoid cotton buds, pins, or suction tools as they can push wax deeper or injure the ear. If hearing stays blocked or drops don’t help in a few days, book a professional check.